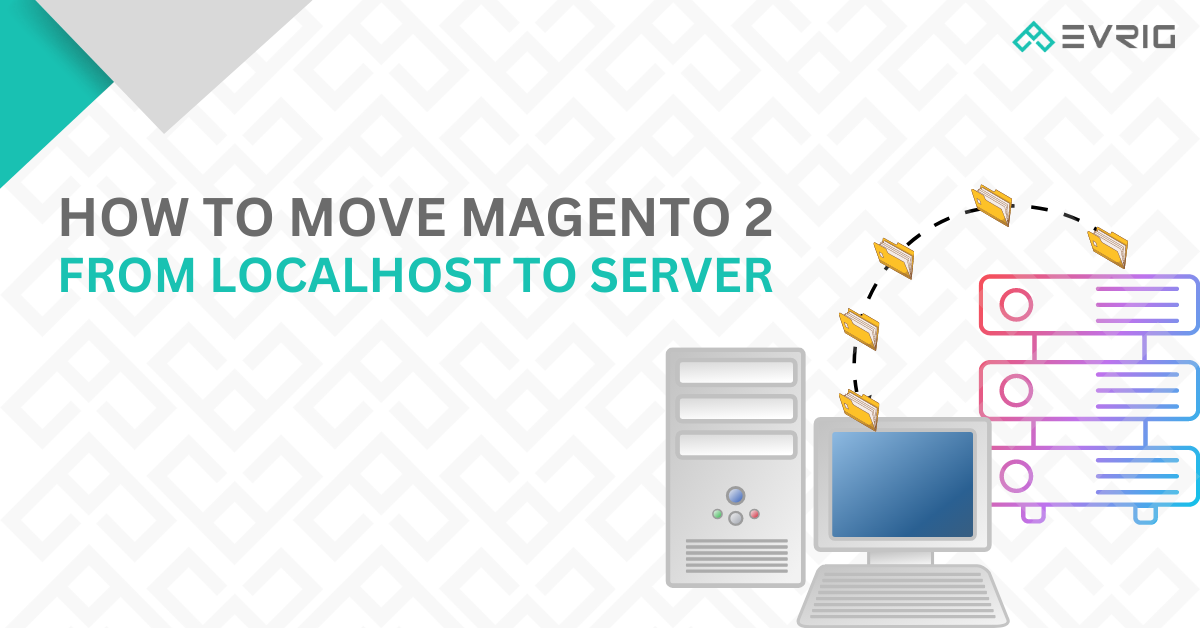
How To Move Magento 2 From Localhost To Server [In 8 Steps]
- July 26, 2023
- Category: Magento 2
Welcome to our comprehensive guide on how to seamlessly move your Magento 2 e-commerce store from localhost to a live server. Relocating your website is a crucial step in making your online business accessible to a wider audience. In this step-by-step tutorial, we’ll walk you through the entire process, ensuring a smooth transition with minimal downtime. Whether you’re a beginner or an experienced developer, follow along to master the art of transferring your Magento 2 store and unleash its full potential on the web. Let’s dive in and get your store up and running on the live server!
How To Move Magento 2 From Localhost To Server
Before embarking on the migration process of your Magento store from localhost to a live server, it’s crucial to ensure that you have everything you need to execute a successful transfer. Here’s a comprehensive checklist to guarantee a smooth and efficient migration:
- Choose a Magento-specific hosting plan for optimized speed and performance.
- Get a unique domain name to represent your store and improve SEO.
- Install the latest versions of phpMyAdmin and MySQL for database management.
- Use cPanel for easy website management, commonly provided by hosting providers.
With these essentials, you’re ready to migrate your Magento store successfully. Let’s proceed with the steps.
Steps to Move Magento 2 from Localhost to Server:
Step 1: Export Database from Localhost

- Connect to your localhost software (e.g., XAMPP, WAMP) and log in to phpMyAdmin.
- Select the database of your Magento store from the menu on the left.
- Click on the “Export” option at the top of the page.
- Click the “Go” button to initiate the database export process.
- The database files will be available for download in .sql format, and you can also choose to save them as .zip files.
Following these steps will allow you to successfully export your Magento store’s database from the localhost environment.
Step 2: Create Magento Files in Zip Format
Select all the files and folders from localhost and create a zip file.
- Go to htdocs folder (if you are using XAMPP) or www folder (if WAMPP)
- Go to Magento folder and compress the files in zip format
Steps 3: Upload the Magento Files from Localhost to the Live Server
To upload the database to your website server via cPanel, follow these steps:
- Log in to cPanel.
- Access phpMyAdmin from the cPanel dashboard.
- Inside phpMyAdmin, create a new database by clicking on the “New” button.
- Remember to note down the database name, username, and password for future reference.
With these details in hand, you’ll be ready to proceed with uploading the database to your website server on cPanel.
Step 4: Import Database
Method 1:
Here are the steps to import the database from localhost to the new database on your website server via cPanel:

- Select the newly generated database in phpMyAdmin on cPanel.
- Look for the ‘Import’ link at the top of the menu and click on it.
- Under the ‘Files to Import’ section, click on the ‘Choose File’ option.
- Select the database file you downloaded from your computer (in .sql format).
- Finally, click the ‘Go’ button to initiate the database import process. Be patient, as it may take some time to complete the import.
Following these steps will successfully import the database to your website server, making your Magento store data accessible on the live server.
Method 2:
The second method for importing the database is by using the command line
mysql -p -u username database_name < backup_file.sqlStep 5: Upload Magento Files
You can also create a subfolder for a new domain. If you do not wish to do so, you can continue with the normal directory also.
Upload the zip file and extract that you created in step 3
Step 6: Change env.php file for Accessing the Magento System to New Database
After successfully uploading and extracting the zip folder, the next step is to modify the env.php file. Follow these steps:
- Navigate to the app/etc/env.php file in your Magento installation directory.
- Open the env.php file using a text editor of your choice.
- Look for the section in the file that contains the database connection information.
- Modify the database details such as the username, database name, and password to match the credentials of the new database you created on your domain.
- Save the changes made to the env.php file.
By updating the database connection information in the env.php file, you will ensure that your Magento store connects to the correct database on your new domain. This step is crucial to ensure the proper functioning of your Magento store on the live server.
Step 7: Find Out New Domain Name for Magento System
After completing step 6 and making changes to the env.php file, save the modifications:
Click on the “Save” option located in the top-right corner of the text editor.
If you want to further edit the file, follow these additional steps:
- If you wish to select and edit the env.php file again, you’ll need to upload it to the appropriate directory on the live server.
- Access the Magento database and locate the “Core_Config_Data” table.
- In the “Core_Config_Data” table, find and replace the previous localhost URL with your domain name under the configuration path “web/unsecure/base_url.”
Step 8: Run Below Commands
To successfully access your Magento store after the migration, follow these commands:
php bin/magento setup:upgrade

php bin/magento setup:static-content:deploy -f

php bin/magento cache:flush

php bin/magento cache:clean
That’s it! By executing these commands, your Magento store should be accessible and fully functional on the live server.
Certainly! If you still have any doubts or encounter challenges during the migration process or need ongoing support with your Magento store, don’t hesitate to reach out to us. Our team of experienced Magento developers is here to help you with any technical issues, customization, or enhancements your store may require.
